Showing posts with label DIY. Show all posts

Tuesday, December 2, 2014

Upcycled T-shirt Burp Rags

I am pretty sure that having a baby can break the bank, but I also know that you don't have to let this happen. I made some upcycled t-shirt burp rags for Miss E, and I liked how well they turned out. 

What I liked about them was they were free to me! They also are thin so they didn't stay soaked forever. They are also absorbent. 


Supplies

Old t-shirt
Thread
Sewing machine or needle if you do these by hand.

Instructions

Cut out your t-shirt. I don't want to give you an exact size because the size will depend on your shirt. If you see in my picture, you can get an idea of where I cut. Cut through both layers.


Here is another shirt that I decided to do a little different due to the design.


Pin together and sew. I didn't worry about trying to put mine right sides together to flip. I just sewed around all four sides. I used 1/2 seam allowance, but you can vary the seam allowance. 

You could choose to do this by hand if you don't have a sewing machine.


You are done! Pretty simple right. Here are the two burp rags all ready for some spit up action!


I would love if you would pin this project!

Thursday, January 23, 2014

How To Take and Print Your Own Passport Photo

Sometimes I blog for my own reference. I thought this summer before going to Panama that I had posted about taking and printing your own passport photo. Apparently, I didn't. So now, here it is. 

Is it allowed?
At first, I wondered if taking your own picture was allowed. The website for the U.S. Passports and International Travel has instructions on how to take your own picture, so I began thinking the process is just fine. 

Our passports were approved with the pictures that we took and printed ourselves. I just looked and some places charge $10 for photos. Not cool.

What are the requirements for the photo?
The U.S Passports and International Travel website states the following guidelines:
  • In color
  • Printed on matte or glossy photo quality paper
  • 2 x 2 inches (51 x 51 mm) in size
  • Sized such that the head is between 1 inch and 1 3/8 inches (between 25 and 35 mm) from the bottom of the chin to the top of the head. View the Photo Composition Template for more size requirement details.
  • Taken within the last 6 months to reflect your current appearance
  • Taken in front of a plain white or off-white background
  • Taken in full-face view directly facing the camera
  • With a neutral facial expression and both eyes open
What do I do after I take the picture?
You go to the Photo Composition Template and upload your picture. Adjust to the size needed and follow their directions. Pretty simple. Print off the picture and you are ready to go! 

Have any of you ever taken a passport photo at home?

Monday, December 9, 2013

DIY: Sugar Cookie Sugar Scrub {Easy Christmas Gift}

I teach the high school girls Sunday School class at my church. I needed a quick and easy yet thoughtful gift to give them for Christmas.

My husband had gotten some sugar scrub for Christmas (the joys of working in a female dominated workplace), and I decided to make some for my girls.


I wanted to make some scrub using stuff that I had on hand. I searched pinterest and saw a few ideas that used something I would have to buy. I came across a recipe that I had everything that I needed. You can find the recipe I used here.

I simply put the scrub in baby food jars. You could also use some canning jars. Looks kinda like baby food doesn't it!


Fabric scraps were wonderful to tie on the top and to make these look more thoughtful.


Easy gift accomplished!

Tuesday, November 26, 2013

DIY: Photo Recognition Book

Last year for Christmas, I made my niece this photo recognition book. What a fun project to make!

Unfortunately, I don't have pictures from the step by step process, but I will do my best to share with you what I did. 


  1. I bought a board book. Doesn't matter what is on the book, you will cover it up!
  2. You will want to decide on what you want on pages and who you want to go where. I doubled up the aunts and uncles to make everyone fit.
  3. I took pictures of all family members to use. You want a head shot of just the people. I did both sides of the family for my niece. 
  4. Decide on front and back pictures. You can see my examples above. 
  5. I measured the pages of the book and uploaded the pictures into Word. I made the pictures the size of the page and then added a black text box with white writing. Some of you might be better at the computer aspect, but Word was what I had, and I made it work.
  6. Print pictures. I did them at home.
  7. Trace around the pages on the back of the picture. Most board books have round edges. Use an exacto knife to cut around the pictures. 
  8. Spray the back of the picture with spray adhesive and attach to the book. I would do one page at a time and let them dry.
  9. You are done! Enjoy!

Wednesday, July 24, 2013

Jumpin' on the Door Paintin' Band Wagon

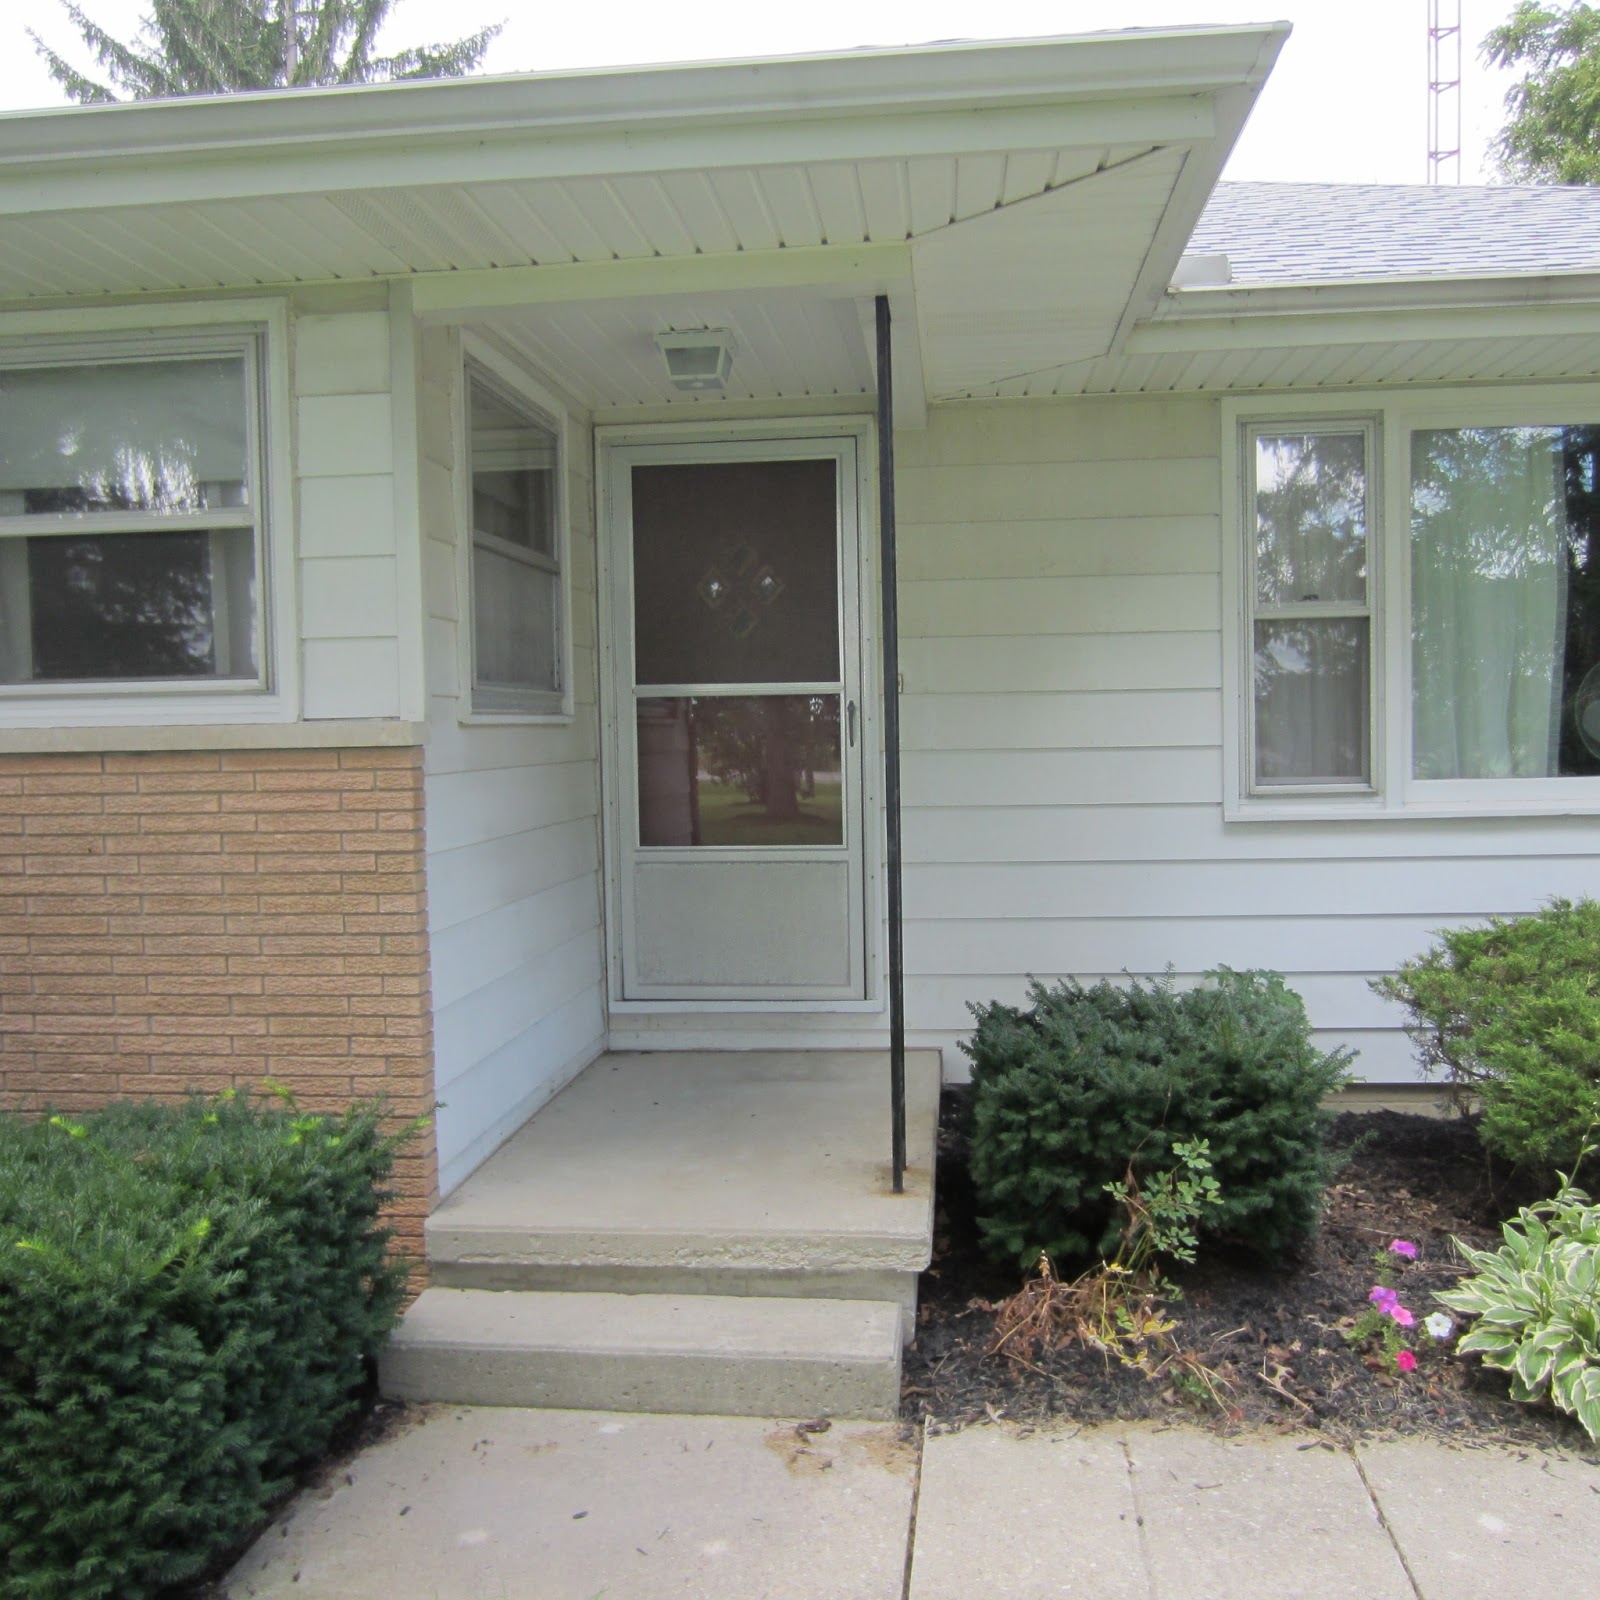
A little while ago, I got two coupons for free pints of paint. Perfect amount to paint a door. Scott has always been determined to paint our front door red. We got some red rock paint, but decided that the middle of winter was not the best time to paint the door. Then we seriously started looking at houses, and we decided to wait until we had a house to paint the door.

This project wasn't a has to be done to move in project. While we were changing the locks, my SIL decided that she would take on this project for us. Didn't take too much to convince me on that one!

Before
After (sorry this pic is so dark)
Our house has an old door for now, so painting the door gave the door new life. I was hoping that the painting would bring the house a little more up to date, but the screen door kinda hides the door. 


Now, you can see the door! We decided not to paint those diamonds into order to do something to them. My MIL votes for a stain. I am kinda thinking an accent color. I would love to hear your thoughts. There are those dark screw in the middle, so think about that before you weight in your choice of what we should do.


My favorite part of this project, no cost! And the fact that my SIL graciously did the work for us.

Saturday, July 20, 2013

Make Your Own Fire Starters

My husband found this idea of making your own fire starters, and we love them. They create a slow, intense burn that helps light the rest of your stuff on fire. And they are super easy to make with things you can save from around your house!


Supplies:

Old wax
Paper egg carton
Dryer lint

Instructions:
  • Fill all the holes with old dryer lint.
  • Optional- my husband has put used matches down in some to use as a "wick" 
  • Melt down wax. We use old candles and put the jars on the stove in a pot of water.
  • Pour the wax over the dryer lint until the lint is pretty saturated. Not really a right or wrong amount here.
  • Tear apart the egg carton and you are done!
  • Place where you would like to start a fire and light. Use responsibly :)


I have heard that these are good for use in a charcoal grill. You don't get the taste of lighter fluid that way.

Saturday, July 6, 2013

How to Get Rid of Japanese Beetles

We have been getting Japanese Beetles on our corn this year. I turned to good ole' trusty Pinterest to find a way to get rid of them, but did find much there.

I learned that you can plant garlic to defer them. A little late for that! Or put kerosene in a jar. Don't have any kerosene.


What I ended up doing was filling an old salsa jar with old dish water. I used a fork to scoop them down in the water. 

Once I got them all, I put the lid on to make sure they stayed. I have been going out a few times a day to get rid of them. If you come to our back door, you will be greeted by dead Japanese Beetles! Who wants to come visit :)

What do you do to get rid of Japanese beetles?

Wednesday, July 3, 2013

DIY Record Bowl

Do you have any records around your house that you don't know what to do with? I had seen the idea of making a record bowl, but I always thought it would be too hard to do. Well guess what? My MIL proved to me that it isn't!


Supplies:
Record
Bowl
Cooking spray or wax paper
Oven


Steps:
1. Preheat your oven to 200 F. 


2. Spray the top of your bowl to shape the record or place wax paper on top of your bowl. 


3. Place the record on top of the bowl.  


 4. Put your bowl in the oven for 10 minutes.


5. My MIL didn't like how the record was laying so she reshaped it a little and placed it back in the oven.


 6. And you are done! Pretty simple, right?


How many of you have records are home that you will try this with?

If you think you might do this in the future, when you find some cheap records at a garage sale. Go ahead and pin this to pinterest so that you can find the tutorial!

Thursday, June 27, 2013

DIY Sweatshirt Skirt {I Love Mine!}


I am in love with this skirt. Never thought I would say that I was in love with a skirt :) I have even played volleyball in this skirt twice and was not bothered by the fact that I was in a skirt. Guess I might need to be careful sometimes :)


I was given some old sweatshirts and was trying to decide what to do with them. I make a laptop sleeve for my husband and then I came across this tutorial for a skirt.

The skirt was super easy to make. I whipped it out in not much time.

I didn't have a drawstring to use for the waist, and my husband suggested using ribbon. I did just that and love how well it works! I am blessed to have a great husband!

Thanks to my momma and my husband for taking pictures for me.

Wednesday, June 5, 2013

DIY Laptop Sleeve Tutorial


I was given a pile of clothes. There were a few sweatshirts that I wanted to upcycle into something else. This pile has been on my list of goals for the last few weeks. 

My husband told me the other day that he wanted a laptop sleeve for when he has to go to class. I was flipping through Martha Stewart when I saw this picture. I thought I could at least give something like it a try! 
msl-good-things-ipad-cover-how-to-001-mld109975.jpg
source
I started by taking the old sweatshirt and cutting off the front and sleeves.


I then made sure I had enough length to fold in thirds around the laptop.


I folded down and sewed around the top of the laptop sleeve. 


I then pinned together the sides with right side together. I wanted this to be fitting without being too snug.


This is what it looked like with both sides pinned. Go ahead and slip the laptop in to make sure it fits. I sewed these sides together. 


Then I folded down and pinned around the flap. I sewed these areas together. 


I then sewed on buttons and sweet talked my mom into putting in button holes. I need to figure out how to use my button holer. 


Done! 


Friday, March 1, 2013

DIY Boy's Argyle Shirt

I have thought about making some shirts, but didn't want to spend much money on brand new shirts. I found a good deal at Gabriel Brother's where a shirt was less than $1. I decided to see what I could come up with. I searched through pinterest and this became my inspiration. An argyle shirt. Super easy and fun!

  • I started by printing out a diamond from google docs (microsoft word for most of you). I then held it up to the shirt. I had to print the diamond again and make mine smaller. 
  • Then I cut out 6 diamonds from fabric. I used cotton and did 3 diamonds from each material
  • I also cut out 6 pieces from fusible interfacing.
  • I ironed the interfacing on the wrong side following the instructions on the package. Apparently, I didn't cut them all straight :)
  • I then chose the pattern that I wanted them in and pinned them on. Make sure that the points on all sides are touching. 
  • Next, I sewed around the edges of each diamond individually.
  • Then I sewed between the diamonds. I picked a side and started at the bottom of the diamond, all the out to the middle point. I would sew through the middle of the diamond and up to the top in the white area, like in the picture on the right. I did this until I had completed the pattern. The picture on the left might help you figure this out better. 

How are you going to incorporate this idea into your sewing? Also, I have a few more of these shirts and would love to know what you would put on them.

Linking to Bower Power, The Pin Junkie

Friday, February 8, 2013

DIY Swiffer Roundup


Seems like a swiffer is something that most households own anymore. Swiffers are great, but I hate using a cover and throwing it away. Are you with me on this one? Here are some options that you can use.

The first one is my favorite. Simply take a microfiber cloth and wrap it around your swiffer. The picture on the right is what I collected. Gross! The part I love about this one is that I can wash the cloth and use it for many other things. 
The second cloth is made from fleece and flannel. Simply cut the fleece large enough to fit around the swiffer and then sew flannel onto the bottom. This is a little more fun of an option. I have a few of these for sale over in my etsy shop.


This last one is super fun. I pinned it on pinterest and one of my friends commented, "I love this idea but it would pain me to crochet something and rub it on the floor!" I am with her on that. If you are a quick crocheter and would like the pattern, it is available here.


Are you a swiffer user? What do you use on your swiffer?

Thursday, January 31, 2013

Homemade Vanilla Extract


For a few years, I wanted to try my hand at making homemade vanilla extract.

The upfront cost scared me out of it. I would ask for birthday and for Christmas for vanilla beans and vodka, to no avail.
My vanilla beans soaking
This year, I decided to buy the ingredients to make my own Christmas presents. Problem solved! I was buying this for gifts.

My husband and I went to Meijer to buy 3 liters of Vodka. Man did we feel like we were ready to party it up. Next time, I think I will try to find a higher proof of Vodka. That might take a little more searching though :)

I decided to try out some vanilla beans from ebay. I didn't know about trusting the people, but I checked their feedback and picked wisely. Hasn't affected us yet! Check around online to see what people recommend of how many vanilla beans to put into a liter. There are some various opinions.

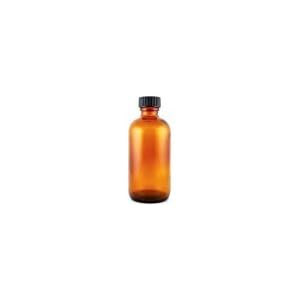
Boston Round Bottles, 4 Oz Pack of 12Cut your vanilla beans down the center and stick in the bottle of vodka or put both the beans and the vodka into another glass jar. Let the jar sit in a dark place for anywhere from 2-6 months. Make sure to shake occasionally. I started using ours around 2 months. Pretty good stuff!

I bought these Boston Round Bottles, 4 Oz Pack of 12 from Amazon to be able to give the vanilla as gifts.

I was pretty pleased with how the vanilla turned out. One of these days I will get to make more!

I am by far not a vanilla making expert though, so I would love to hear any advice that you have!

Friday, January 25, 2013

Upcycle Sweater to Infinity Scarf Tutorial


My grandma had been given this sweater a while ago and she didn't want it. I did not like it as a sweater, but something about it drew my attention. 


I wanted to make something out of this sweater. Stockings and a hat crossed my mind, but neither of these had been exciting enough to me to do them. I then decided on an infinity scarf. And off to work I went.

The first thing that I did was cut off the sweater right under the arm pits.


Next I sewed a zig-zag stitch around the edges that I cut. If you have a serger, this would be even better. Just trying to keep the edges from raveling.


I cut up one of the side seams. Then I folded the material in half, right sides together, and pinned it together.


I then sewed it together and turned the scarf right side out.


I then took the ends and put right sides together. I sewed these together as far as I could with my sewing machine.


I was left with a little hole.


I sewed this hole together by hand.


There you have it! Great way to make an ugly sweater come to life.

Make sure you pin this project to use in the future!

Linked to Romance on a Dime, Craftionary, Ladies Holiday, Serenity Now, My Repurposed Life
Related Posts Plugin for WordPress, Blogger...